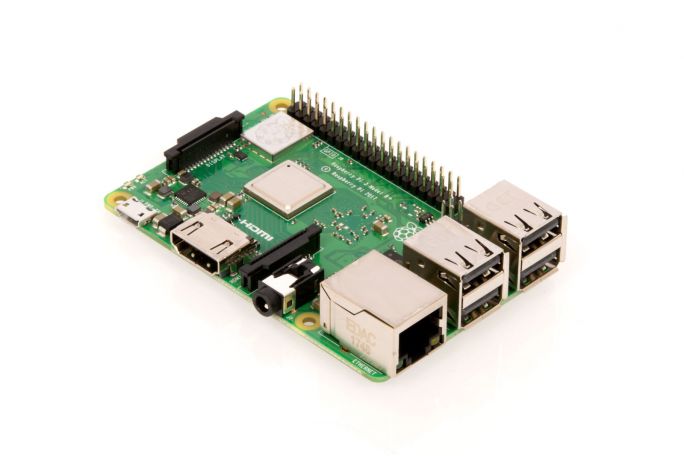
Prepare your RPI 3
First you have to tell the RPI firmware to boot from USB, this feature is disabled and has to be enabled once per raspberry pi. You can do this from SSH by running the following command:
echo program_usb_boot_mode=1 | sudo tee -a /boot/config.txt
Clone your current system
First of all shutdown your system and take out the SD card
Put the SD card in your Windows System and use Win32DiskImager to take a backup (use the Read option) and save it to an IMG file. Make sure to just select the (in my case) D: partition. Keep in mind this is the boot of the sd card and Windows will tell you this is only 200mb. After it is ready make sure to check the img file, this should match your sd card size.
Connect your SSD through USB to your Windows PC and initialize it as GPTR partition and format it in fat. Next it will be visible with an drive letter so you can “Write” the just created file to the SSD.
Once finished writing you can connect the SSD to your RPI and start it!
Resizing the SSD to use the full capacity
Connect with SSH to your new system running on the SSD and run:
sudo fdisk /dev/sda
then use command p to list the partition table
You will see two or three partitions listed like below (if you removed swap you will see only 2 partitions)
- W95 FAT32
- Linux
- Linux Swap
Now make sure to write down the start number of partition 2 (Linux). You will need this when we are going to recreate the partition.
Now type d to delete both partition 2 and 3
You will then be prompted to enter the partition number you want to delete. In our case we want to delete Linux and Linux Swap (if swap is available) else only Linux.
So type 2
In case of Swap:
then type d again and then type 3 to delete the swap partition.
Now you can resize the main partition (previously Linux)
Hit n to create a new partition.
We want this to be a Primary Partition so hit p.
Next enter 2 when prompted for a partition number
You will now be prompted for the first sector for the new partition. Enter the start number from the earlier step (the Linux partition) you made note of
Next you will be prompted for the last sector you can just hit enter to accept the default which will utilize the remaining disk space.
In some cases you will be prompted if you want to remove the Partition # 2 signature of ext4. In my case I removed the signature, so hit y
Then hit w to save the changes you have made.
Lets reboot the system with:
sudo reboot
once the system has been restarted and you are back at the SSH session use:
sudo resize2fs /dev/sda2
This will resize the just created partition with the extra free space that was available on the sector (start and end sector)
Note: this can take some time, just await this process and DO NOT restart your system at any time in the process or you will mess up your FileSystem.
Once it is finished reboot the system with the following command:
sudo reboot
You can now verify that the system is using the full capacity of the SSD by entering the following command:
df -h

